Reading time: 4 minutes
Hey legend,
I’m sure you remember Apple’s ‘Shot on iPhone‘ campaign featuring remarkable photos captured by iPhone 6 users, splashed across billboards in major cities near you?
Well, that was the pivotal moment in my journey with smartphone-based content creation.
When I realised it was possible to take professional-like photos with a smartphone, I became obsessed with learning how to do it myself.
Because they weren’t courses or many YouTube tutorials back then, I took any opportunity to practice and treated trips with family and friends each as mini ‘photography projects’, challenging myself to capture, shortlist, edit and share my work on Instagram Stories.
As they say, quantity leads to quality and when my community started responding positively to what I was sharing, that’s when I realised I was picking up a knack for taking professional-like photos with my iPhone.
For my recent collaboration with Flight Centre and Intrepid Travel, the marketing teams specifically asked me to capture content on my smartphone, which shows just how far modern smartphones have come to be considered an acceptable/preferred tool for content creation.
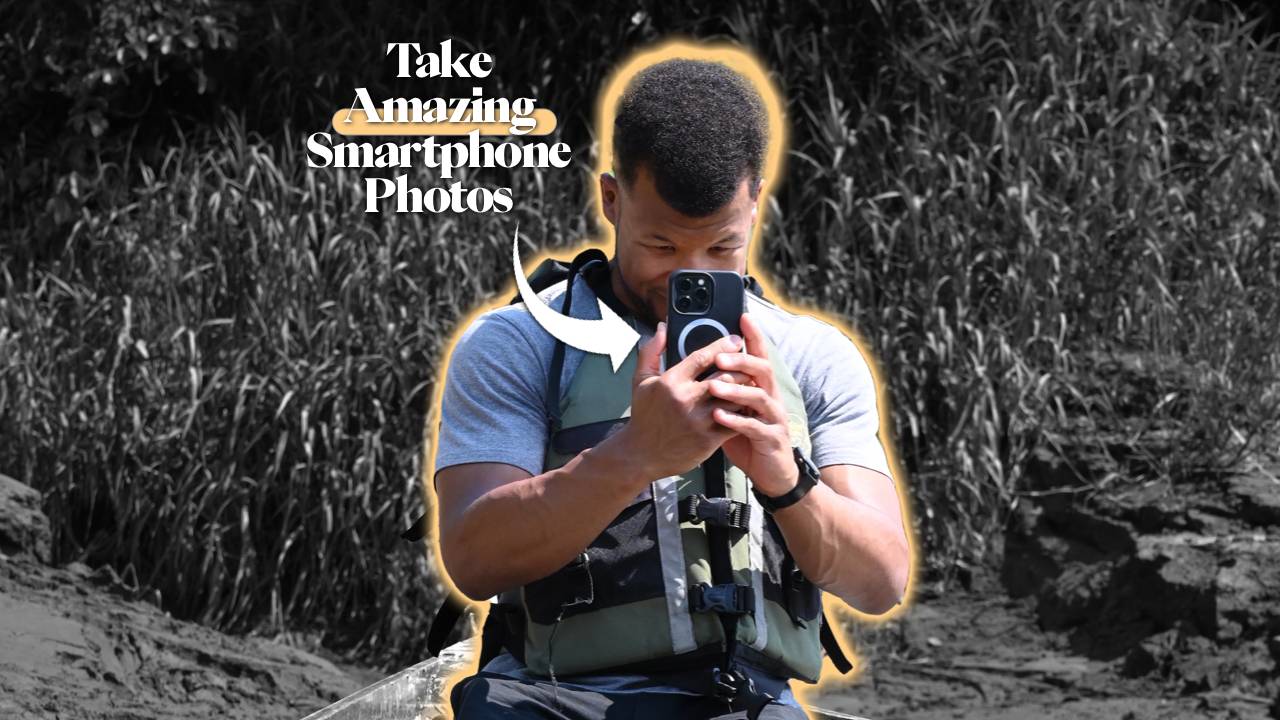
And even after receiving all of my content from the trip, they followed up to get me to create a YouTube tutorial on how to capture content with your smartphone #LikeAPro
So in this guide, I’m compressing everything I’ve learned across years of trial’n’error so that you can take professional-like photos with your smartphone.
We’re going to break it down into 2 sections:
- Setting Up: Select the correct settings on your smartphone to get the most out of your camera
- Taking: 5 overarching guidelines and tips to take amazing photos
Note: While I’ll be referring to iOS devices and am currently using an iPhone 13 Pro, nearly all of this guide applies to any make or model of smartphone released within the last 5 years. You may just need to look around in different places to access similar settings, or refer to specific guides for your smartphone.
⚙️ Setting Up
1. Camera Capture: Select ‘Most Compatible’
This setting lets you capture photos in a more universal file format. It can be helpful if you plan to edit your photos on a non-Apple device or share them with someone who doesn’t use an Apple device. It saves photos as JPEG files instead of HEIF files, which are Apple’s default format.
2. Photo Capture: Select Raw (“ProRAW” on iOS)
Shooting in RAW format saves the unprocessed image data directly from the camera sensor, giving you more flexibility to adjust the photo’s colour, brightness, and other settings during the editing process.
It’s worth noting that a RAW photo takes up more space than JPEG files (25-30mb Vs. 3-5mb per photo) so make sure you have enough space on your smartphone, by backing up and clearing old content.
3. Preserve Settings: Toggle All to ON
This setting preserves your current camera settings, such as exposure, focus, and white balance, so they don’t change if you close the Camera app or switch to another camera mode.
This is really helpful to help you quickly switch between different camera modes (i.e. photos and videos) but ensure that your settings are locked in so that your photos have a consistent look across a photoshoot (making editing a lot easier).
4. Composition: Toggle Grid ON
The Grid setting adds a set of lines to your camera’s viewfinder that divides the image into thirds vertically and horizontally.
This helps you apply the Rule of Thirds, a composition technique that suggests placing important elements of your photo at the intersections of these lines, resulting in a more visually balanced and interesting image.
5. Lens Correction
This setting corrects distortion and other image issues caused by a smartphone’s camera lens.
It can help improve the overall quality of your photos, especially if you’re using a wide-angle lens or capturing images with straight lines that may appear curved or distorted without this correction.
🤳🏽 Capturing
1. Rules of Thirds
The rule of thirds is a composition technique that involves dividing the image into thirds both vertically and horizontally, creating a grid with nine equal parts. By placing important elements of your photo along these lines, at the points where they intersect or using the lines to straighten your image to align with vertical or horizontal subjects, you can create a more balanced and visually interesting photo.
2. Compositions
This refers to what is within the frame of your photo, so experiment with placing your camera in spots where it includes subjects in the:
- Foreground: <1m from the camera
- Midground: 1m – 10m from the camera
- Background: Beyond 10m from the camera
This adds “layers” to your photo and more for your viewer to appreciate.
A great technique that helps you achieve this is with leading lines
Leading lines are lines in your photo that lead the viewer’s eye towards a particular subject or point of interest.
Examples of leading lines include roads, buildings, or other objects that create a clear path or direction for the viewer’s eye to follow.
3. Exposing for Highlights
When you expose for highlights, you adjust the camera settings to ensure that the brightest areas of your photo are properly exposed. This can prevent those areas from appearing too bright or “washed out”.
To expose for highlights on your smartphone, tap on the brightest area of the scene when you’re taking the photo, which will adjust the exposure to properly capture that area.
4. Positions & Angles
Changing the angle from which you take your photo can completely change the composition and mood of the photo.
By shooting from different angles, you can capture different perspectives and make your photos more visually interesting.
Try capturing your subjects from above, below, or from different sides to see how it affects the final image.
5. Zoom Lengths
Most modern smartphones come with multiple camera lenses, including wide/ultra-wide, ‘normal’, and telephoto lenses.
Each lens has a different focal length and can be used to capture different types of photos.
The telephoto lens, for example, can be used to capture portraits or close-ups of subjects that are further away, while the ultra-wide lens can capture a wider field of view.
And above all, feel free to break the rules and capture what feels good to you!
A lot of these “rules” exist to help you get started as a beginner, but with enough practice, you’ll have an intuition for what makes a good photo and you can go with the flow.
So in summary, to take amazing photos
Set up your smartphone with the correct settings
- Most Compatible
- RAW
- Preserve Settings
- Grid
- Lens Correction
Capture photos with a few professional tips & techniques
- Rules of Thirds
- Layering Compositions (such as leading lines)
- Exposing (correctly) for Highlights
- Positions and Angles
- Changing Zoom lengths
I’m looking forward to seeing your amazing smartphone-based photos filling my newsfeeds 🙂

See you in the next one legend,
🕺🏽Mamba

